
Custom Page
Displays > Displays for advocates > Custom Page
A tutorial video can be found here.
Enable Custom Page
To enable the Custom Page, you must first click this Turn on button.

Custom Page design
This is where you can design the Custom Page displayed to both advocates and their friends (if selected).

You can freely customize the page's appearance and content. Any changes will be reflected in the right column's preview display.

Display Custom Page on your storefront
Create a Shopify page template
You must first create a new Shopify page template. Please go to your Shopify account > Online store > Themes > Customize.

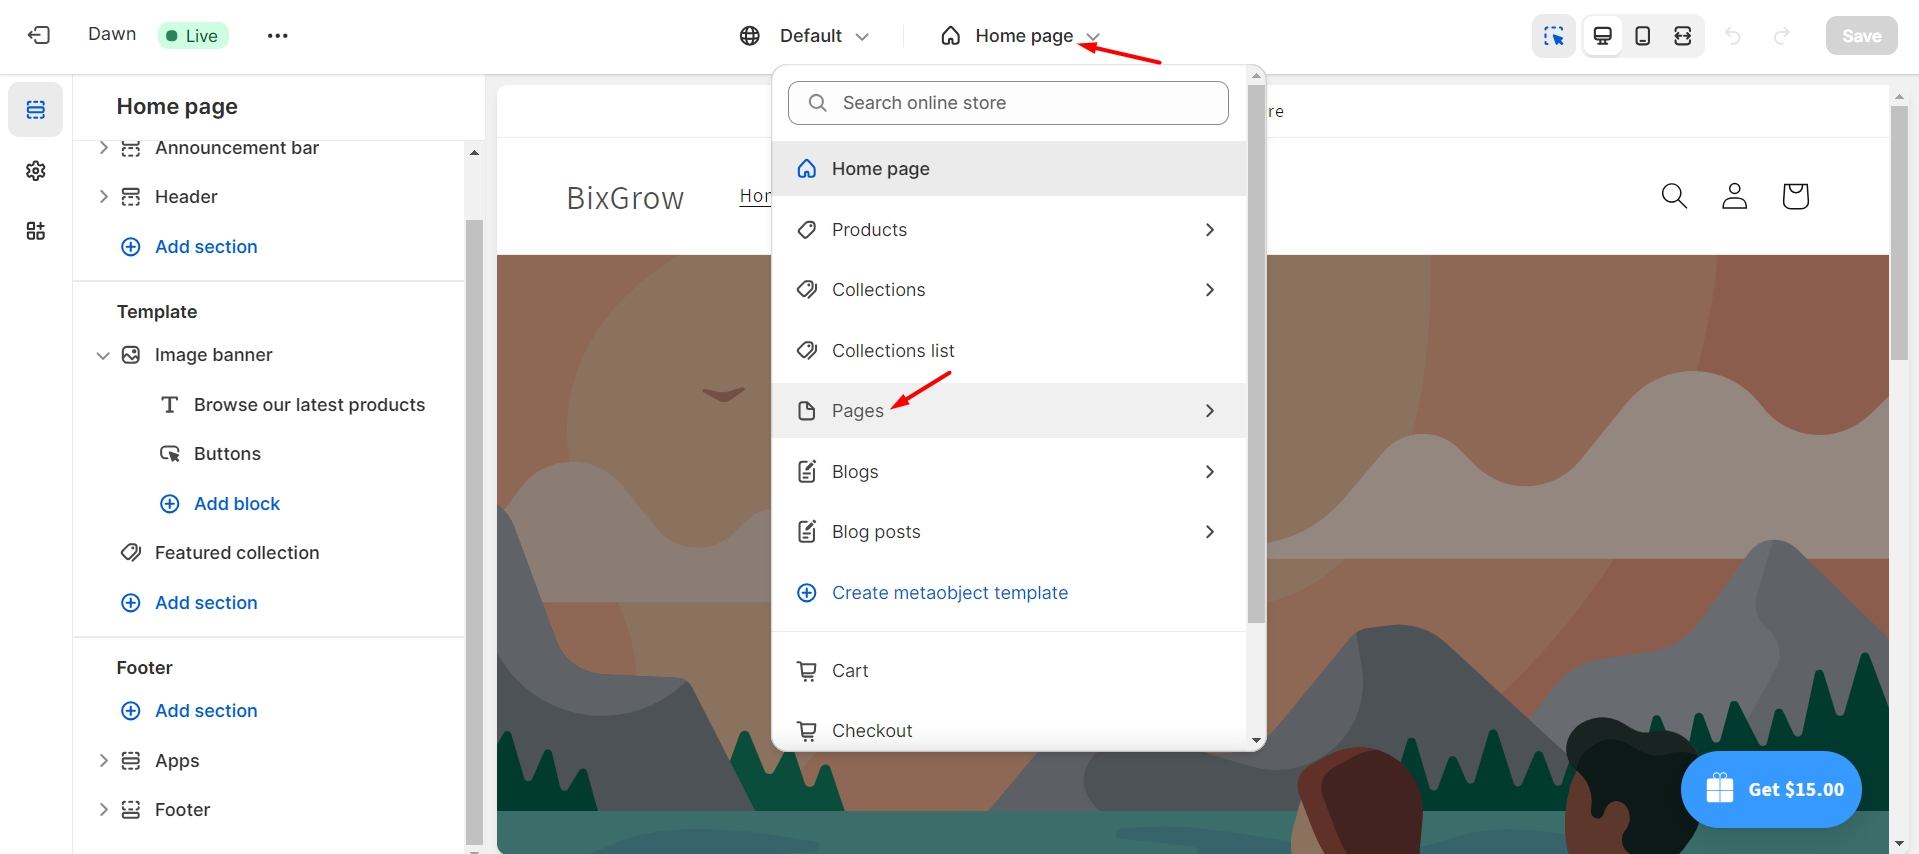
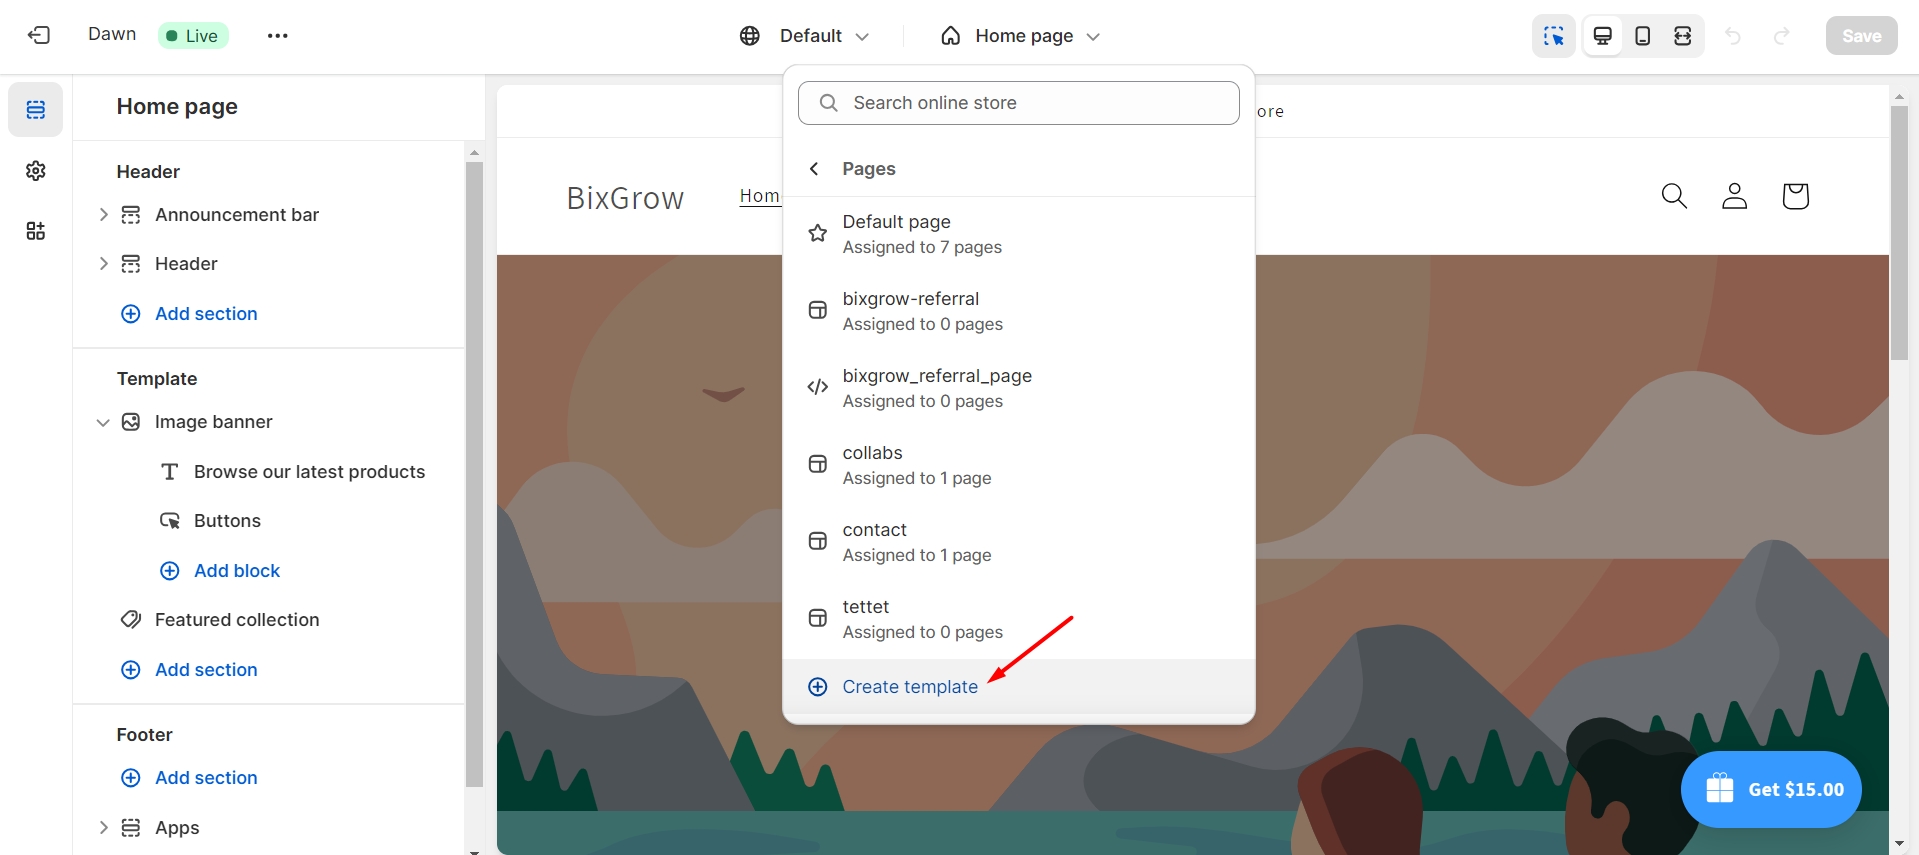
On Home page, select Pages > Create template.
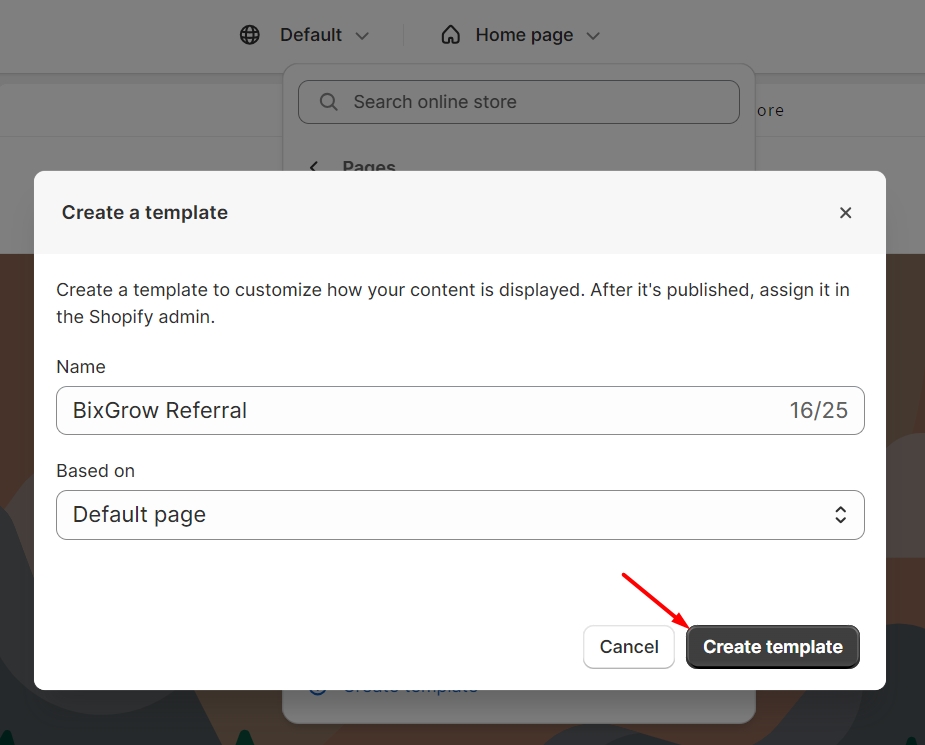
Now enter a name for the template, choose Default page and click Create template.
Next, hide that Default page.
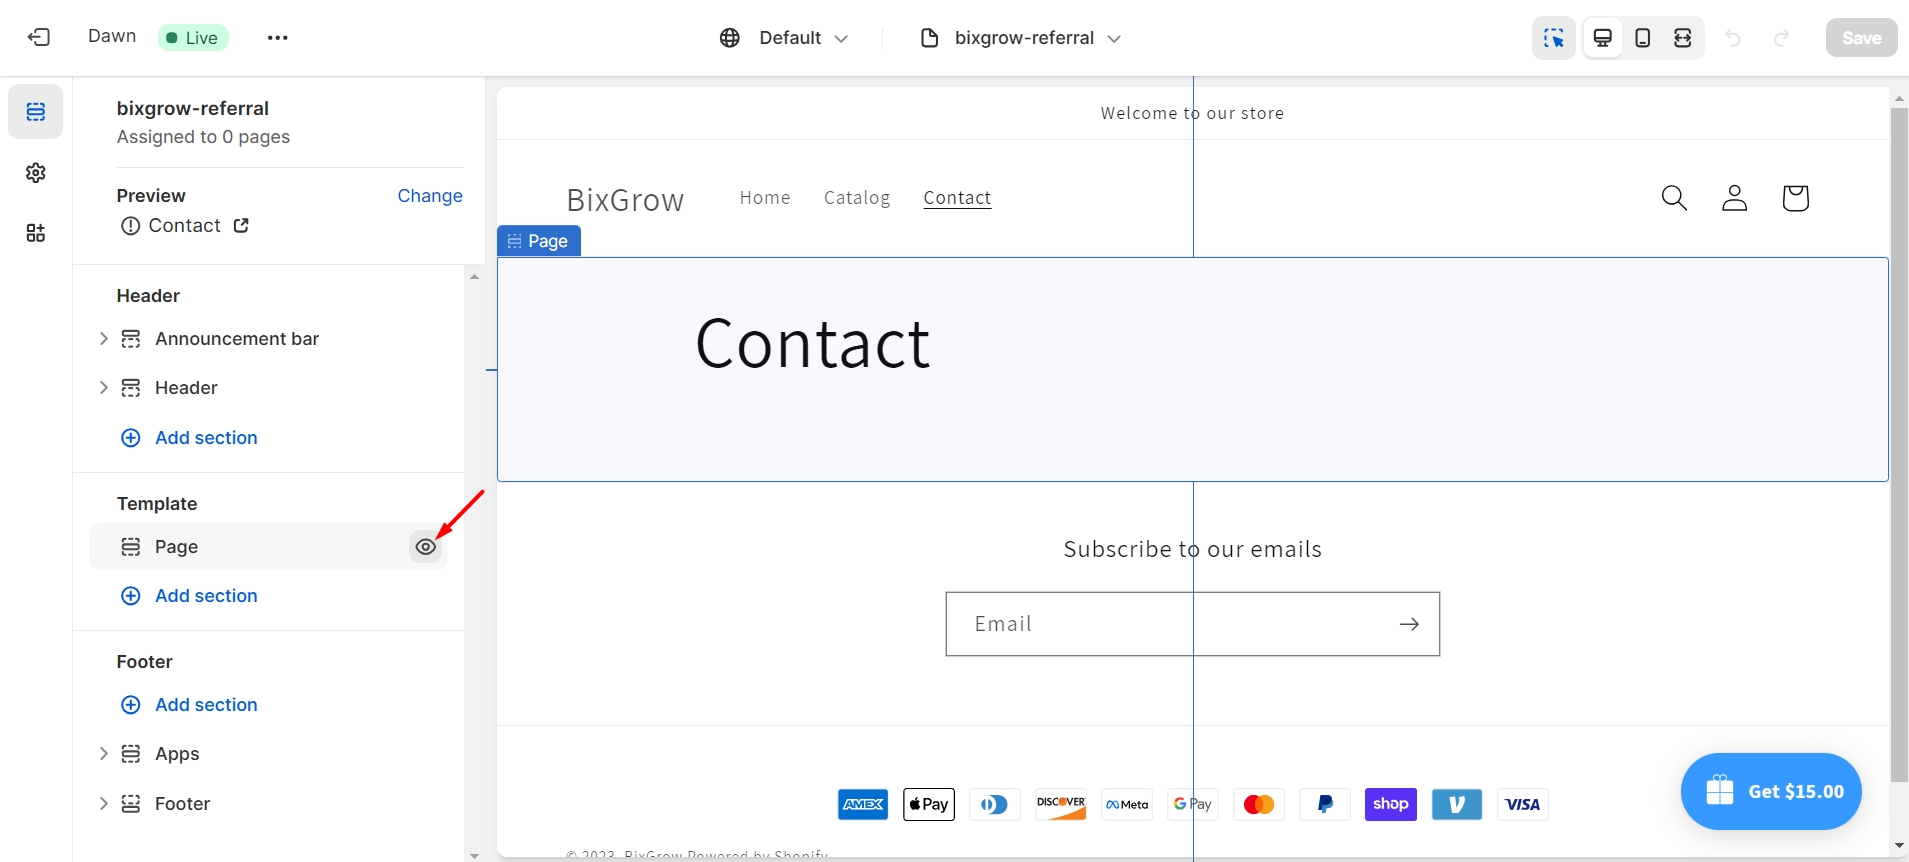
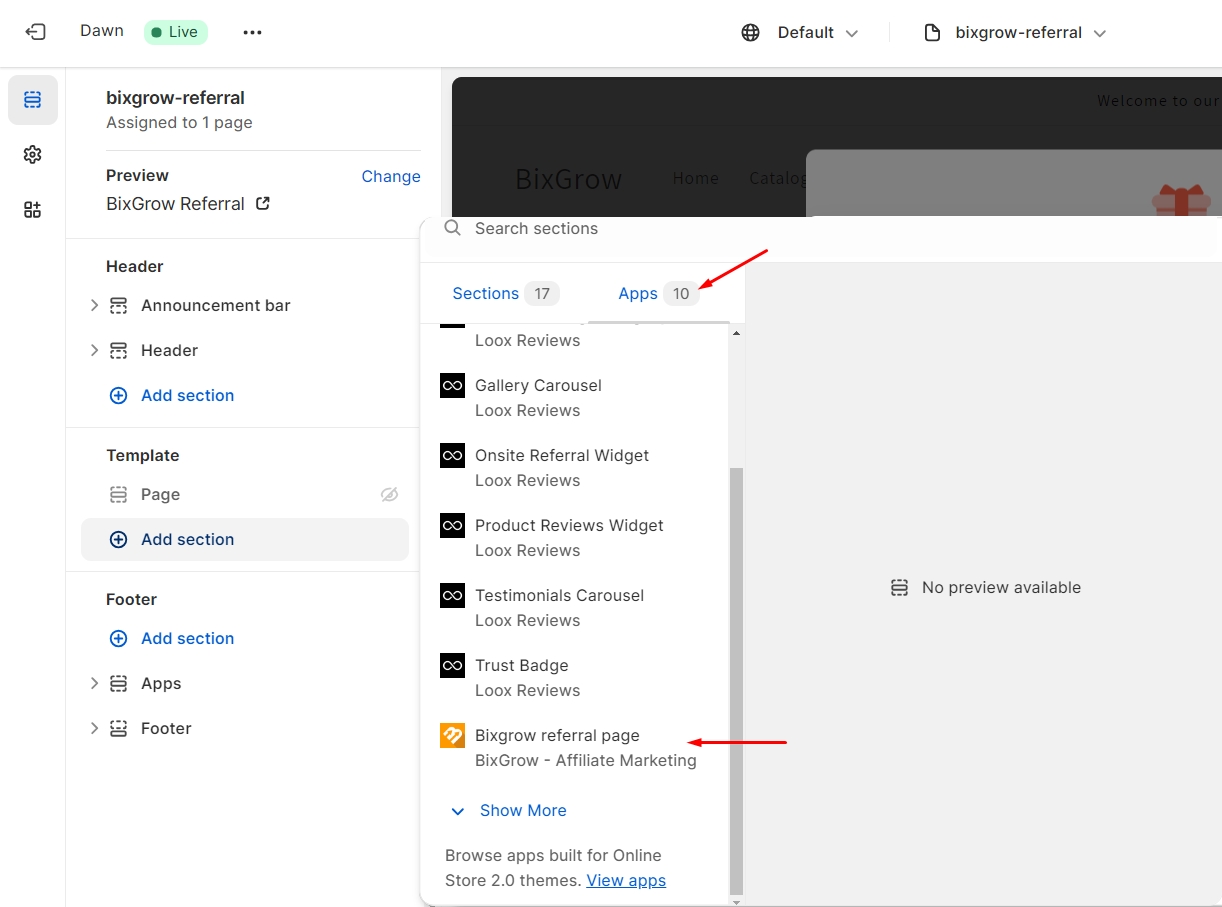
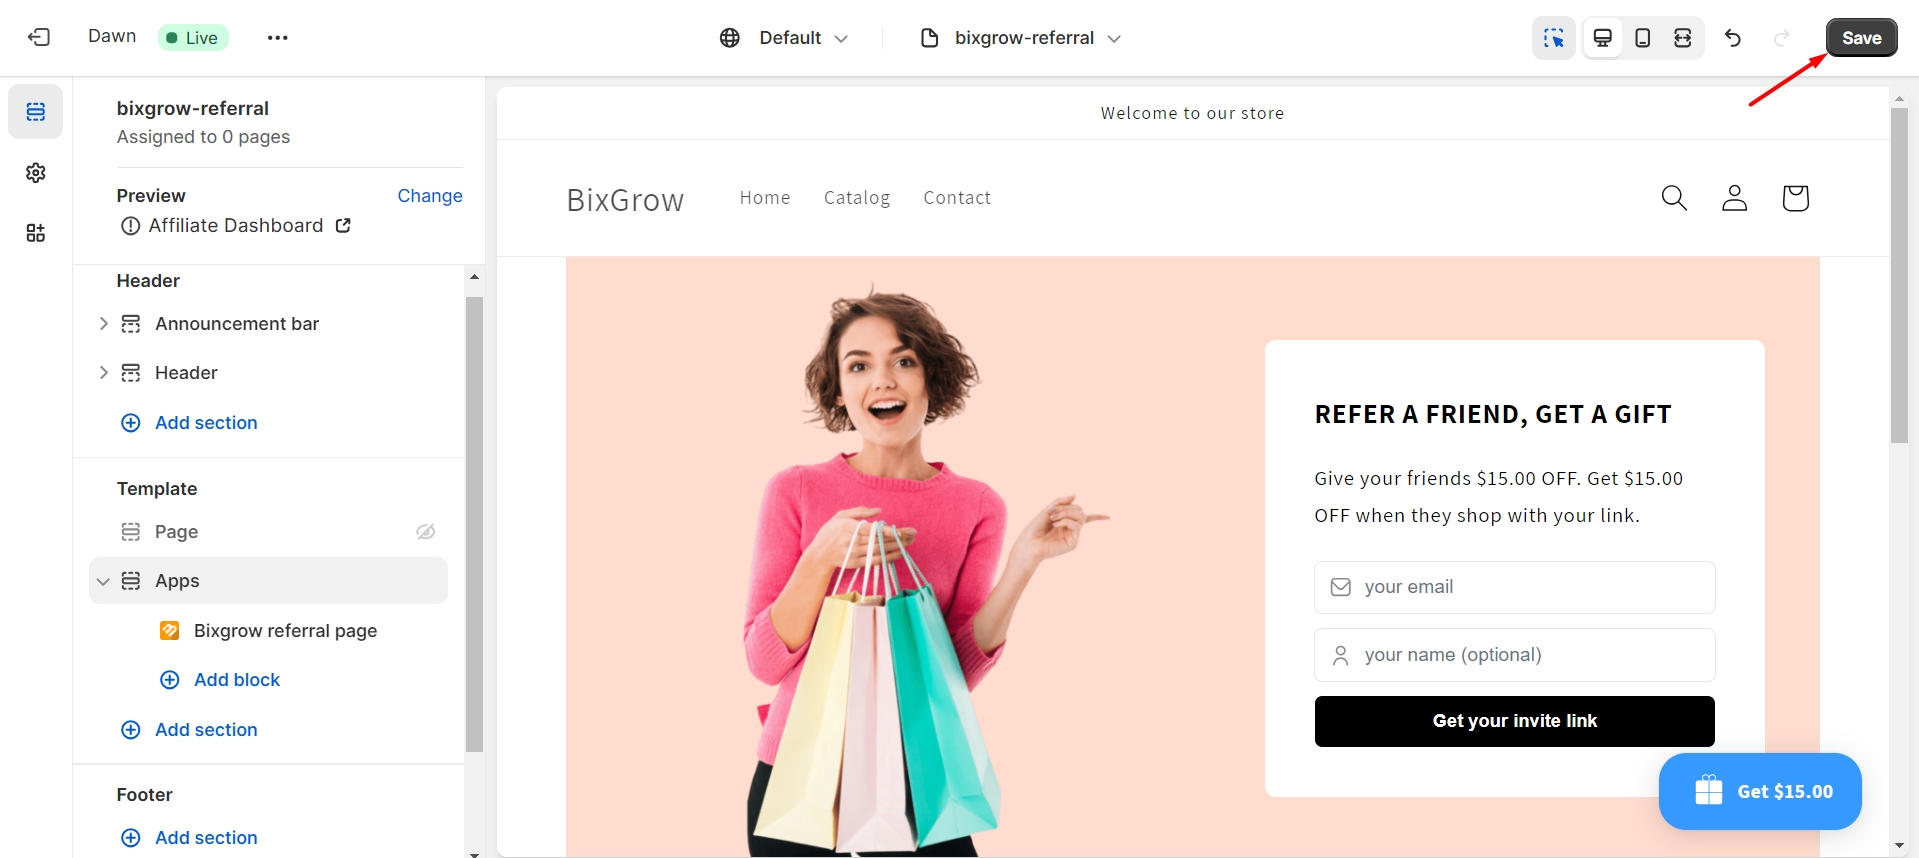
In Add section > Apps, select the "BixGrow referral page" template and edit the page's margin. Click Save when you're done.
Add a page on Shopify for created template
Now return to Online store > Pages. Click Add page, then enter a title for the page. Under Theme template, select the template you've just created above.


Then, click Save.

Add created Custom Page to your store's menu
Finally, let's add the created Custom page to your store's menu. Return to your Shopify account > Content > Menus. Click on your header menu (usually named Main menu).

Now click Add menu item. Then, enter a label for the page and select Pages > the page you just created above.


Finally, click Add and then Save to update your changes.

This is a sample Custom Page that is displayed directly on the storefront:

Last updated